Enhance your Gmail account by adding a personalized email signature. Follow our easy-to-follow guide on how to create a signature that reflects your professionalism. Elevate your emails with a touch of personal branding.

Adding an email signature is like giving your email a special touch that looks professional. If you want to make your emails look grown-up and smart, you can add a signature to them. We can show you how to do it in Gmail so that your emails can have a cool and professional look!
If you want to upload an email signature using PNG/JPG files then this is the best place for getting an idea about uploading an image. We share the step-by-step process for uploading your professional signature to Gmail.
Before uploading PNG/JPG in your email you need to know what is the best email signature image size for upload. Many professionals do not know about the perfect size. The required size for an email signature image is 792px X 272px {792px * 272px}.
Open your Gmail account by Uploading your Email Signature and follow the below-mentioned steps.
Step 1: In the top-right corner, click on the gear icon (⚙️) to access the settings menu.

Step 2: From the dropdown, select “See all settings.“

Step 3: Navigate to General Settings:- In the settings menu, you’ll see several tabs. Click on the “General” tab.
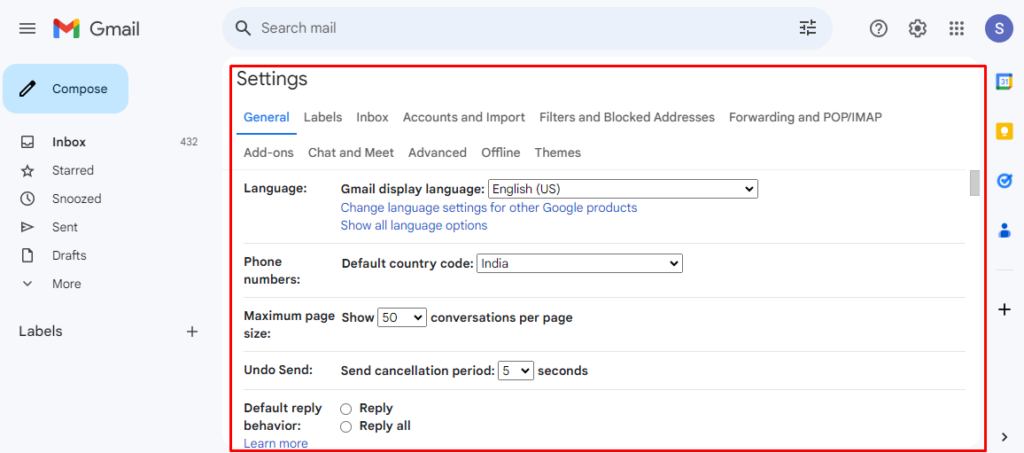
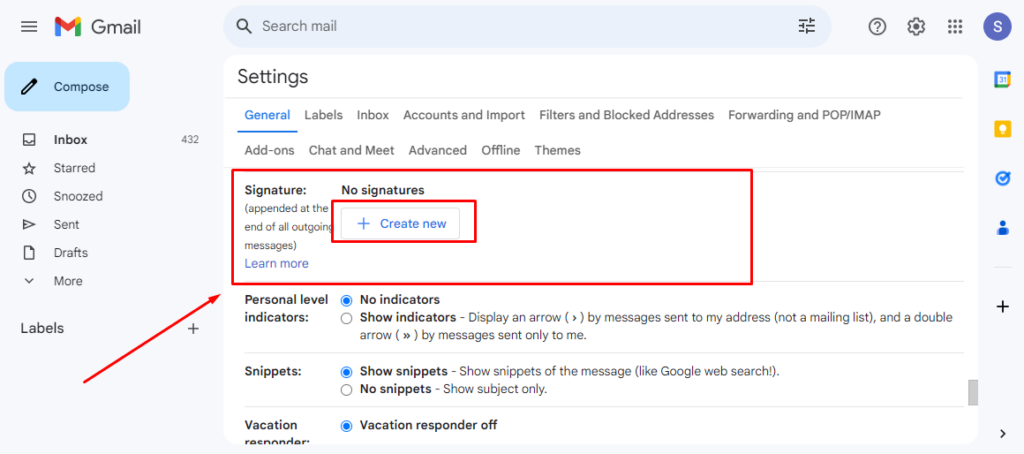
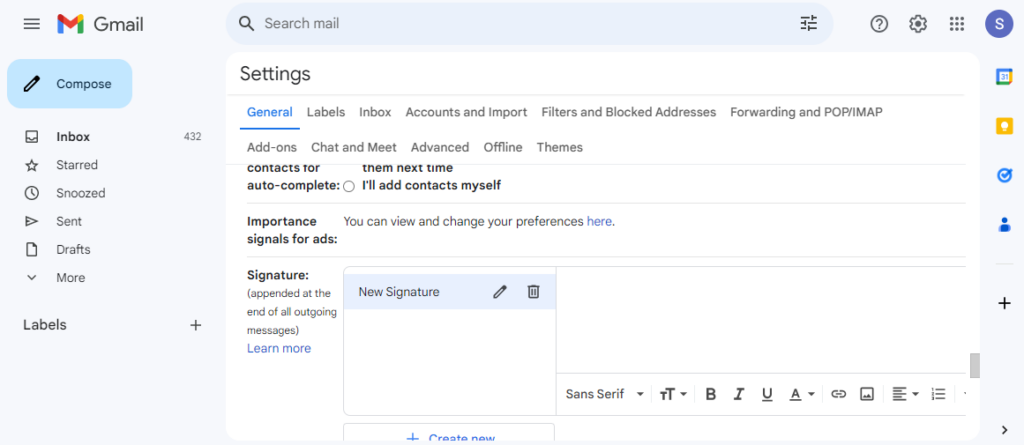
Step 4: Scroll Down to Signature:- Scroll down the General settings until you find the “Signature” section and click on Create a new section.
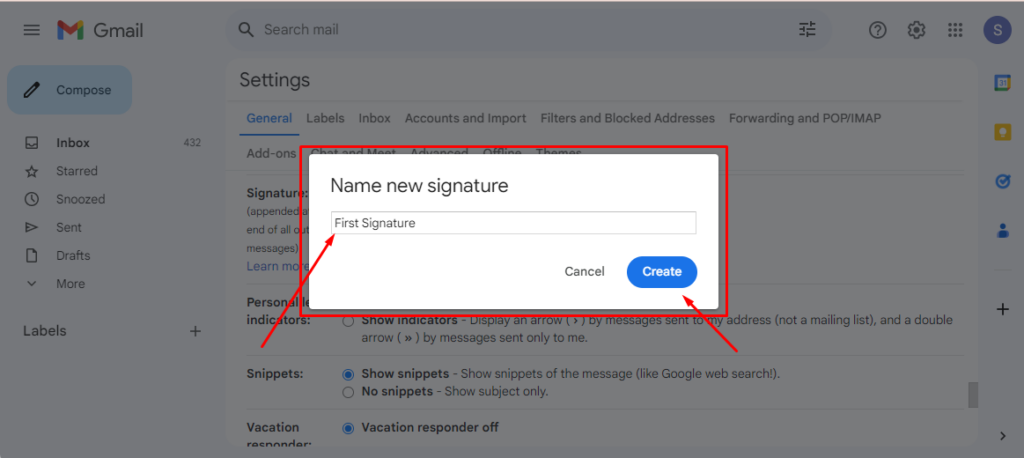
Step 5: Add Name and Create New Signature:- Add the name of the new signature and click on Create button.
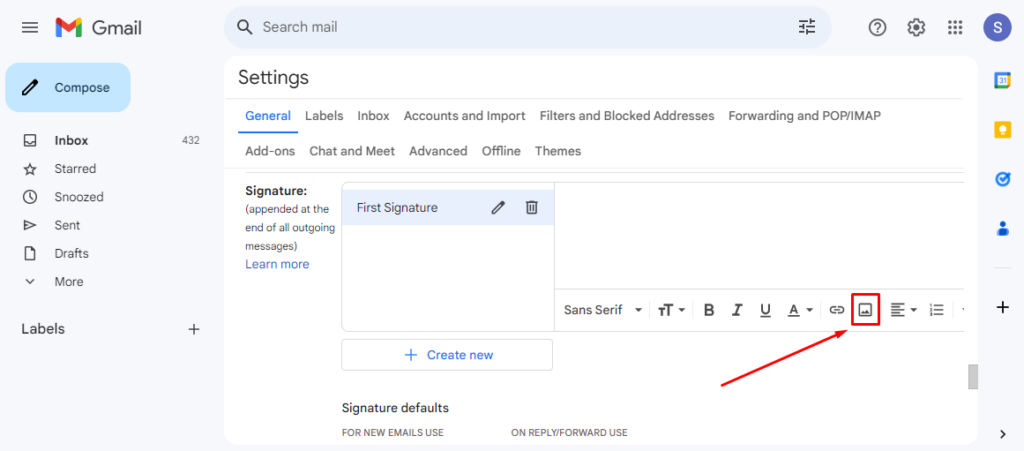
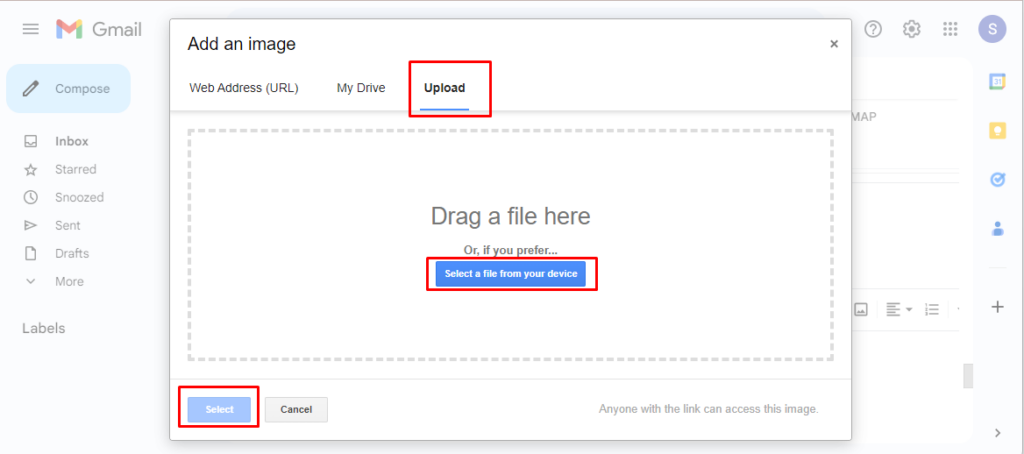
Step 6:Upload Signature Image:- Find the image icon and click on it!
Step 7:Upload Signature Image:- Select the Upload tab and select your signature image from your device and then click on Select.
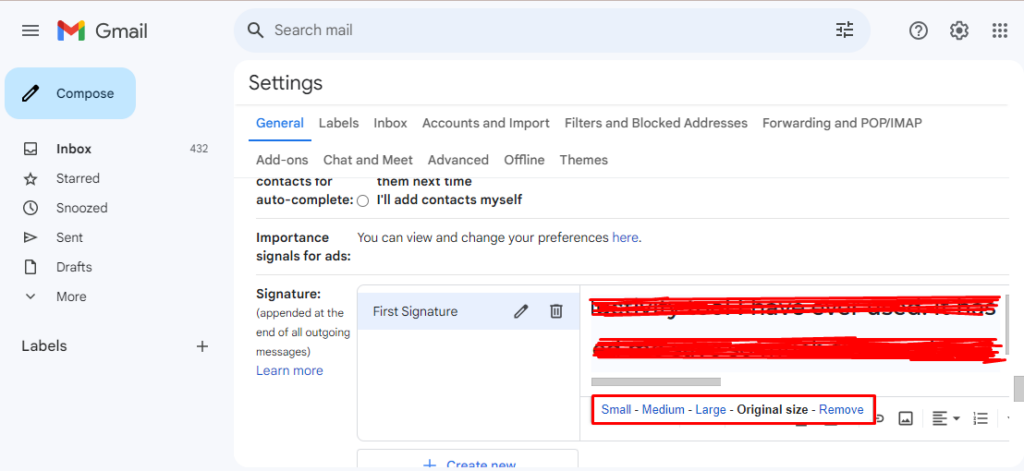
Step 8: Resize the image as per your choice:- Resize the uploaded image as per your requirements Small, medium, and large.
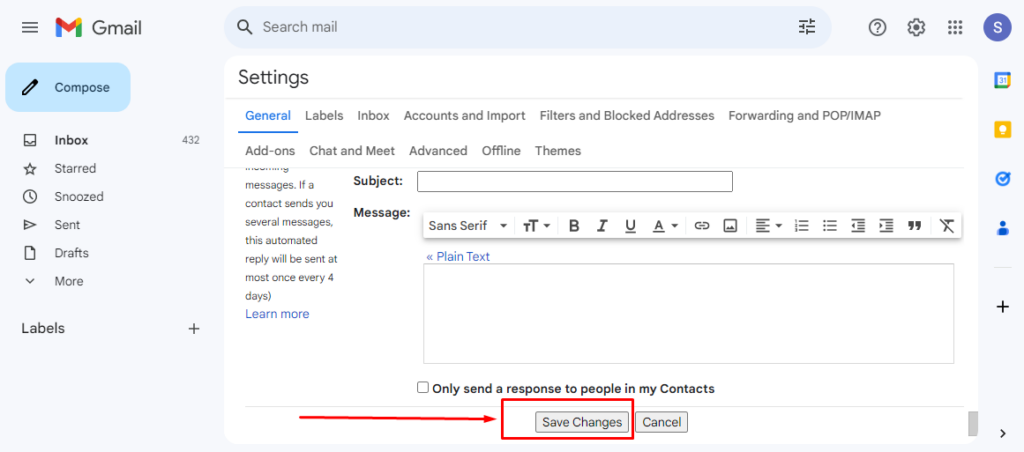
Step 9: Scroll the button and click on Save Changes Button.
For uploading an HTML Signature need HTML code for your signature. First of all, Follow 5 steps as per the above method, and then the next steps are followed as per below.
Step 6: Open HTML Signature: Open your HTML file with Chrome.

Step 7: Copy Signature: Copy your signature in Chrome.

Step 8: Paste Signature: Paste your signature in Text Field and click on the Save Changes button at the end of the Scroll.
I hope you easily understand how to upload a signature to your Gmail account it helps you to make your Gmail more professional.
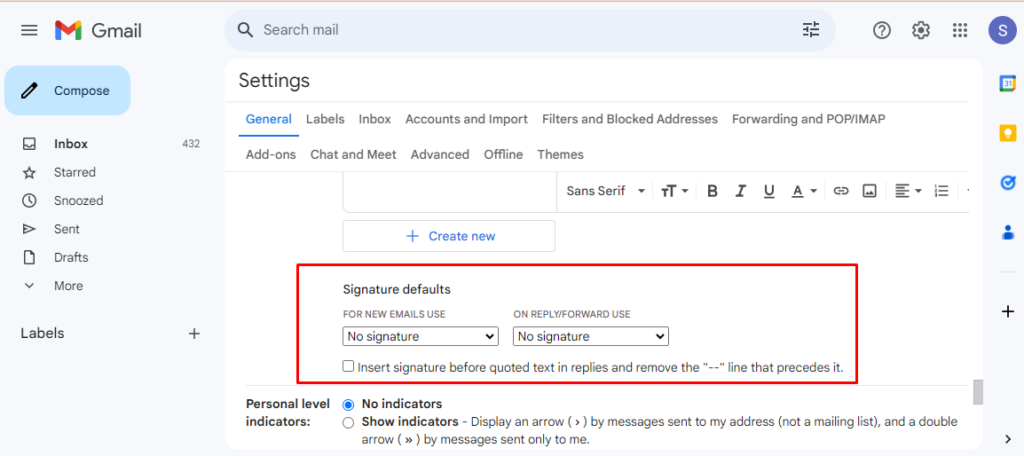
To set your default signature for your mail you need to go to the top of Right side Settings > See all settings> General Tab > Scroll and Find Signature > Signature Defaults > Select Added Signature and Save Changes.
Wordpress Plan
Company Trust