Let’s read all the step-by-step guide to How To Use Google ReCAPTCHA In Contact Form 7. The guide helps you to secure your website from spammy actions with irrelevant activity. Let’s read below the process of adding contact form 7 reCAPTCHA v2 and v3.
Google ReCAPTCHA is like a guard that stops bad guys (spammers) from putting silly stuff on websites. It’s like a lock that keeps the site safe. When you click a checkbox, Google ReCAPTCHA lets you send your information securely.
There is a simple process behind adding reCAPTCHA in Google Contact etc. Follow the below step-by-step process to add reCAPTCHA v3 in Contact Form 7. All steps are simple and we described it with an image that directs you to get better ideas.
If you haven’t downloaded the Contact Form 7 plugin then first of all download it and then follow the below steps.
Step #1: Start your journey by navigating to the “Contact ” menu on the left-hand sidebar of your dashboard. Check the below image for reference.
Step #2: Proceed to the “ Integration ” section, which is your gateway to enhancing website security.
Step #3: As you venture further, keep an eye out for the reCAPTCHA section.
Step #4: Click on the “Setup Integration” button to initiate the process.
Step #5: On the reCAPTCHA page, seek out and select the link marked “reCAPTCHA (v3)” – your key to advanced protection.
Step #6: Dive deeper into the process by scrolling down the newly opened page until you discover the “Register a Site” section. Here, you’ll find the gateway to the “reCAPTCHA Admin Console.“
Step #7: As you enter the Admin Console, it’s time to provide essential details. Fill in the website label, opt for “reCAPTCHA(v3),” specify your domain name (e.g., “yourdomain.com”), and seal the deal with a decisive click of the “SUBMIT” button.
Step #8: The culmination of this process rewards you with the coveted SITE KEY and SECRET KEY. These keys hold the power to fortify your WordPress reCAPTCHA integration.
Step #9: With these keys in hand, you’re on the brink of success. You’re all set to seamlessly integrate reCAPTCHA with your contact form, bolstering your website’s defenses against unwanted intrusions.
Setting Contact Form 7 reCAPTCHA v2 is the same process as above but some steps are different from reCAPTCHA v3. Let’s check Contact Form 7 reCAPTCHA integration. Follow the below step-by-step guide for integration.
How to add recaptcha v2 in contact form 7:
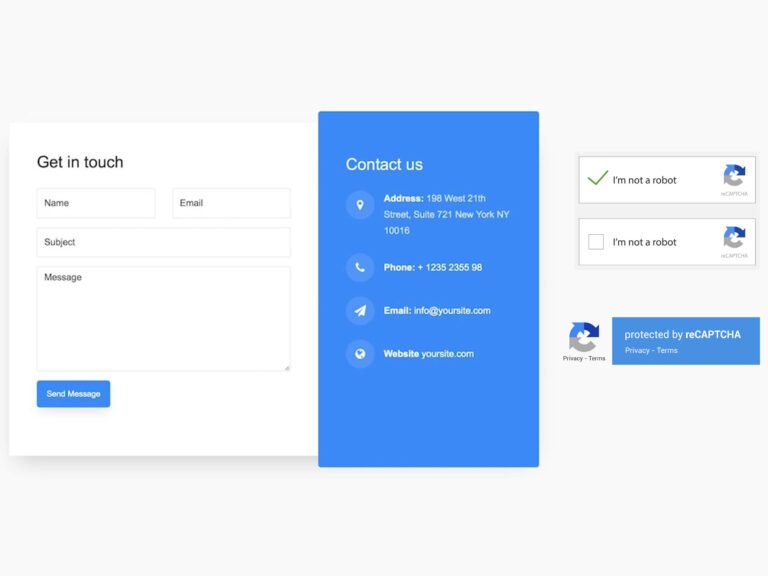
reCAPTCHA v2 contains two more options like “I’m not a robot” and “Invisible reCAPTCHA badge” field.
Let’s follow the full steps with the image:
Follow the Five steps after completing 6 steps as per the above reference then follow the below to setup reCAPTCHA(v2)
Step #7: With these keys in hand, you’re on the brink of success. You’re all set to seamlessly integrate reCAPTCHA with your contact form, bolstering your website’s defenses against unwanted intrusions.
Step #8: Following this process, you will obtain both the SITE KEY and SECRET Key, which must be added to the WordPress reCAPTCHA integration section.
Step #9: Then go to wordpress -> Edit Your Contact 7 Form and Add “ [recaptcha] ” before the submit button and save form.
Step #10: Your reCAPTCHA is now successfully integrated with your contact form, enhancing its security.
ReCAPTCHA v2 and v3 both work with per same functionality. They prevent spammy bots and actors from the web and secure your time. reCAPTCHA v3 is the latest version and it provides more advanced functionality and data analytics than v2.
| Feature | Google reCAPTCHA v2 | Google reCAPTCHA v3 |
|---|---|---|
| Requires user interaction | Yes | No |
| Type of challenge | Click the checkbox, solve the image recognition challenge | None |
| Effectiveness at blocking bots | Less effective | More effective |
reCAPTCHA v3 is the latest version and also contains advanced spam protection with very effective blocking functionality. It works in the background and smartly prevents users from doing irrelevant activity on the web.
There are simple steps for removing reCAPTCHA from Contact Form 7. You need to do just simple three steps to remove the captcha. Follow the below steps and remove it from Contact Form 7.
Step #1: Open WordPress and then click on the Contact menu from the left sidebar.
Step #2: Next, click on integration.
Step #3: Scroll down the page find reCAPTCHA and go to “Setup Integration”
Step #4: On the Integration with External API Page click on the “Remove Keys Button”
I hope you add reCAPTCHA in your form and secure your sites from irrelevant activities. Our step-by-step guide helps you to easily integrate Google reCAPTCHA with our website.